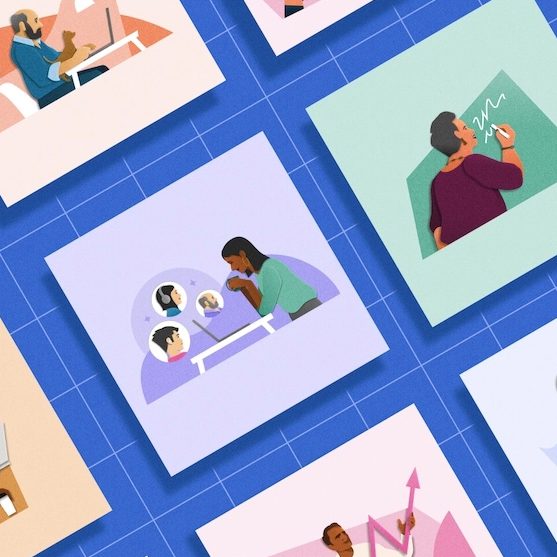
Building Scalable Illustrations for Your Design System
May 18, 10:55 PM
What Indeed learned from crafting a brand tool that all teams can use, on Indeed Design.
indeed.design

Creative Bloq | Rachel Nabors Rachel Nabors will give a talk about the web in motion at Generate San Francisco on 9 June, which will also feature presentation by Steve Souders, Stephanie Rewis, Aaron Gustafson, Josh Brewer and 9 other great speakers. Get your ticket today. These days, we’re all used to seeing show-stopping animated […]
Creative Bloq | Rachel Nabors
Rachel Nabors will give a talk about the web in motion at Generate San Francisco on 9 June, which will also feature presentation by Steve Souders, Stephanie Rewis, Aaron Gustafson, Josh Brewer and 9 other great speakers. Get your ticket today.
These days, we’re all used to seeing show-stopping animated and 3D movies. Technology has come a long way in recent decades, but, to this day, some parts of animation production remains unchanged.
Let’s go back to the first time anyone had attempted to create a feature-length animated film. The cosy team dynamics that worked so well for creating Mickey Mouse shorts would not scale for Snow White and the Seven Dwarfs. The Walt Disney Studios needed a way to coordinate many teams in order to tackle the massive undertaking.
It was a simple idea: dissect the story into its component scenes, illustrate them roughly on paper or cards, pin those cards on large cork boards, then distribute those boards to the teams every morning. The story department could steer the project, and the production artists would never be able to wander too far down any dead ends.
Storyboards brought what we now call agile development to studio animation. Since Snow White, they’ve become a production staple of film, interaction design and game design. Now, with animation entering the toolsets of web designers and developers everywhere, it seems that storyboards might become this industry’s new best friend, too.
Storyboards help map out sequences of animation
When it comes to animating user interfaces on a project, communication between designers and developers tends to break down if they aren’t working side by side. In companies where animation deliverables are ‘thrown over the fence’ to developers, sometimes designs are handed down as animated GIFs or videos with little else to guide the developers when recreating them.
Storyboards can help designers and developers communicate this very visual topic using its lowest common denominators: words and pictures. They require very little training to make and read, and you can create and edit them without the need for specialised software.
Storyboards are great for sketching out quick UI animation ideas during a team meeting and gathering immediate feedback. For rapid prototyping teams, wireframes can be a great way to document the patterns used, so successful patterns can be applied consistently as the project continues. And as design artefacts, they fit perfectly with style guides and design systems for documenting reusable animation patterns.
Don’t miss Rachel Nabors’ talk about the web in motion at Generate San Francisco on 9 June
On their own, wireframes can help break down communication barriers between developers and designers by giving them a common, collaborative medium. But they are even more powerful when coupled with video and prototypes.
Often motion designers create and polish animations in a program that’s not designed for web development, like After Effects or Keynote. Indeed, it makes sense to experiment with animations using visual tools. But alone, video is a poor deliverable for developers. A developer might spend hours trying to recreate a subtle bounce effect that could have taken seconds if they had only known the easing value used by the designer in their animation program.
Delivering storyboards alongside videos lets developers know exactly what steps to follow to recreate an animation. This is less intimidating than having to make many inferences (which might also frustrate their coworkers). The difference between a cubic and quintic curve is nigh-on impossible for a harried developer to spot in a 500 millisecond GIF. But for a sharp-eyed designer, the difference in production is glaring.
Modern storyboards at the office are quite a bit smaller than the large corkboards of the 1930s; they look more like a comic book page than a billboard. Just like a comic page, each panel illustrates and details a different snapshot in time. Underneath each panel is text detailing what’s happening, how and why.
In web design, each of those panels could contain a screenshot, a wireframe, even a sketched microinteraction, supported by notes expanding on what interactions trigger the animations, and over what period of time they occur.
Two panels illustrate cause and effect. Words and illustrations are colour-coded to draw strong relationships
Storyboards can be as macro or as micro, as polished or as rough, as you please. Do what makes sense for you and your team. I have created storyboards with index cards, Photoshop, and even Keynote. It’s important to pick tools that everyone on your team can use and read. Often that ends up being pencils and paper!
For UI animation, storyboarding should start alongside wireframing; right after user research and information architecture. If your workflow is more vigorous, you might start storyboarding alongside design. As long as you’re thinking about animation early, you will be in good shape.
In addition to the black and grey of wireframing, storyboarding benefits from reserving two special colours to indicate action and animation. I use blue and orange respectively, partly because they are discernible for people with various kinds of colour blindness. Blue subconsciously registers as an actionable ‘link’ colour, and orange is very active and stands out. Use these colours to indicate what user interactions cause which things to animate.
A picture is worth a thousand words, but in animation the right numbers can be worth even more. Be sure to include the duration of each part of the animation. Even adverbs like ‘quickly’ or ‘slowly’ will help paint a mental picture for those that need to implement the animations.
Spell out what properties are being changed: from colour and opacity to width or height. Use descriptive words like fade, shrink, slide, expand. Phrases like pop, bounce and swoosh have more subjective values, often affecting more than one property. Does a ‘pop’ involve expansion and contraction as well as a rise and fall? Save these words for naming your animation patterns once they emerge.
Stipulate the animation’s exact easing. This value is supremely helpful to the people implementing the storyboard later on.
Numbering a storyboard’s panels is a best practice sometimes discarded by cinema, but invaluable in web design. Starting from 1, they tell readers which way the action flows. Storyboards could come in vertical or horizontal layouts, and numbers quickly reinforce which mental model everyone should be using. Numbered panels allow quick feedback (for example, ‘What about instead of panel 16, we use a nice fade?’), and let you index what animations and interactions happen and reference them accordingly.
Additionally, numerical panels let you add branching logic to your interactions or show several alternatives. For example, you could group several options for the fourth panel under 4a, 4b, 4c.
When adding notes to your storyboard, always detail why the animation is happening. Be sure you can justify the animation with sound reason. You may have to defend the animation to others, and if you can’t explain why it’s important to yourself, perhaps it’s unnecessary for your users.
In my A List Apart post Animation at Work, I list six different ways you can use animation to underscore relationships and hierarchy. Can you use two of these words to explain your animation?
Each panel (or pair of panels for complex interactions) of your storyboard should demonstrate the following:
Often this breaks down into two panels:
Colour-code your words, too, with interaction words (like clicked, hover and focus) being underlined or written in your designated interaction colour, and descriptive works (shrink, bounce, fade) using your animation colour.
The most common challenge we face when bringing animation to our projects is building a strong rapport with the people who design or code them. The second most common challenge is not standardising those animations we do implement. Both of these lead to inconsistent animation that gives our creations a sloppy, half-finished feel.
Storyboards address both of these challenges: communication and documentation. As such, they are powerful not just for their technical depth, but also for their ability to bring people closer together on a project. This is the spirit in which we must embrace storyboards: not as a tool to dictate but as a conversation to join.
This article was originally published in issue 276 (February 2016) of net magazine.
If you can’t catch Rachel Nabors at Generate San Francisco on 9 June, there’s also a conference in London, which will see a rare appearance of top web animator Chris Gannon. Early bird tickets are on sale now.
What Indeed learned from crafting a brand tool that all teams can use, on Indeed Design.
Learn about building and scaling a design system for an enterprise brand that lives in 8 different markets across MENA., on UXPin.
Further insights from interviews with software engineers about how to tactfully handle their UX feedback.. By Taylor Palmer, on UX Tools.

Plenty of exciting news presented during this year’s Config conference. If you are curious about how they will impact your favorite design tool and, in the end, the entire workflow, just like last year – grab the mug of your
Styles come and go very fast. However, to address the needs of our customers, designers have to be skilled in every modern one. While glassmorphism still feels up to date, there is a trend gaining popularity – Claymorphism. It was
Compare when and why you should use {prototype-fluid} instead of {prototype} in Icons8 Lunacy or Sketch app. The post Tutorial – How to make your iOS prototypes shine like bright stars in the sky appeared first on Sketch2React Blog.
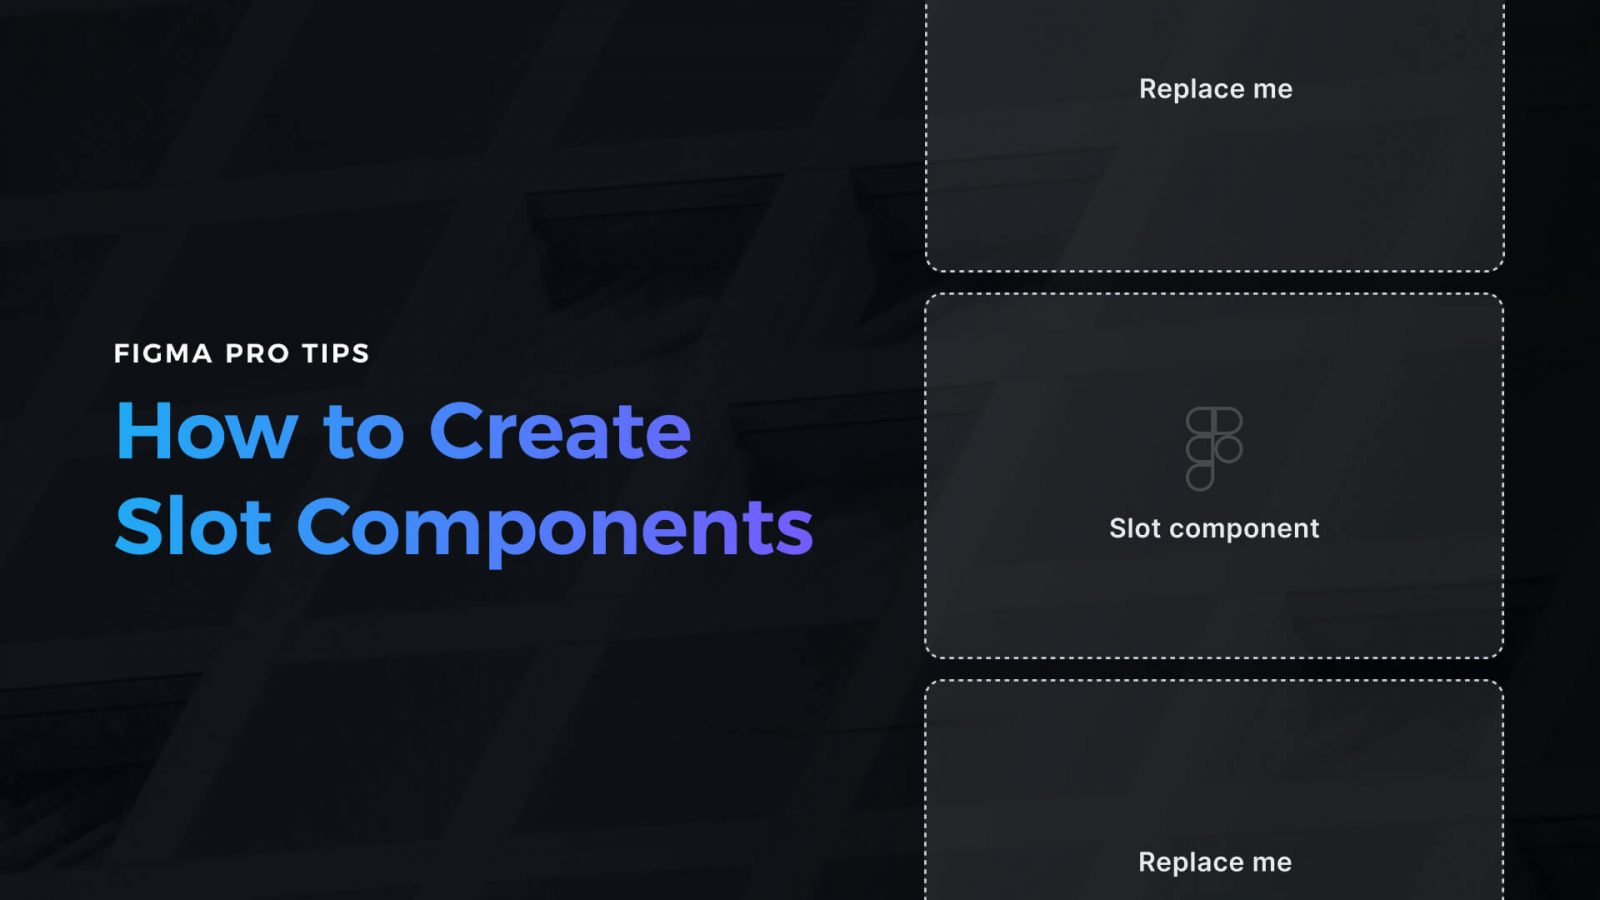
Creating a design in Figma is one thing. The second one is to make it efficient to use. If you want to work faster with your components and UI library, if you’re going to guide other people using your design
One of the most powerful features of Marcode is that you can add custom CSS directly affecting layers and groups inside Sketch or Icons8 Lunacy. Adding a fast and small CSS animation library like Animate.css is a breeze, not to

Challenge yourself to build and ship a complete product in 30 days with a community of supportive women
We just released a brand new companion app for Sketch and Icons8 Lunacy called Marcode. We also released our first premium Sketch plugin, Writer. The post Turn design into iOS & Android apps appeared first on Sketch2React Blog.
Building a portfolio that will help you get a job or a new project is the Holy Grail of most of us. Through the years of my career, I was fortunate to be on both sides – I took part

AI-driven updates, curated by humans and hand-edited for the Prototypr community